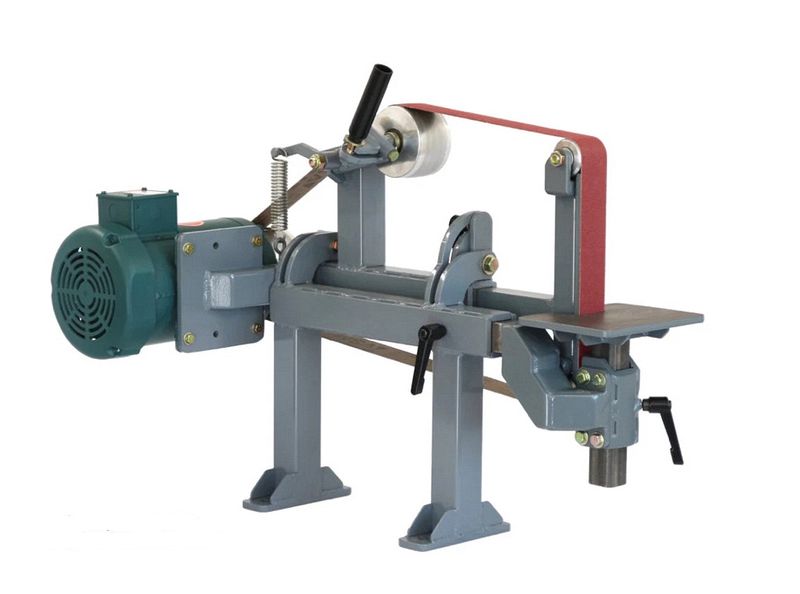
2 X 72 Belt Grinder Build
I saw this a while back and decided to make this machine. I presented the manual/plans book to the members of our metal working club during a show and tell portion of a meeting in September 2022. The whole project snowballed and I wound up organizing a group buy of the metal parts. Initially I started searching for metal and cutting services as I would never build this machine if I had to hand cut all the parts. No way, no how....
I priced a couple of plates from several sources and the cheapest metal was still around $400. Cutting services quoted various amounts, no less than $300. At that point I pretty much decided to bail on building the machine. An email from a water jet cutting outfit in North Scottsdale came back with the price of $360 and I replied that I would think about it as I was trying to find some metal at a decent price. Imagine my surprise when the reply came back that the price INCLUDED the metal.
I coordinated the group buy and ultimately we had 18 people commit to getting a set of parts.
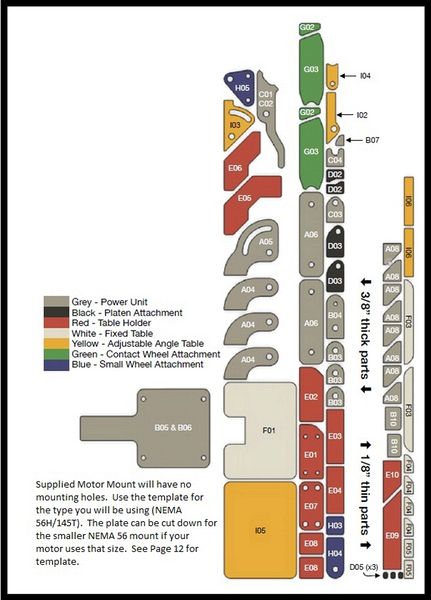
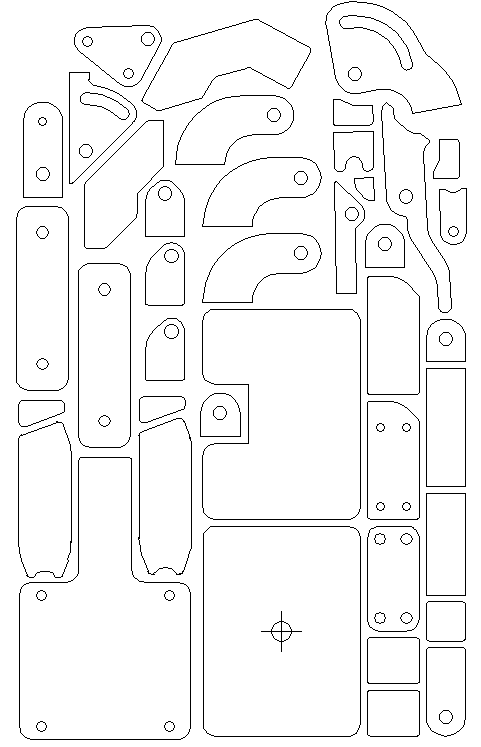
Here is a picture of the parts to be cut. I rearranged the layout to conserve metal and submitted the DXF to the jet cutter for final approval. File for the thick parts shown. The jet cutter said he would cut all the holes slightly undersize so the builder could drill (and ream if needed) them to size.
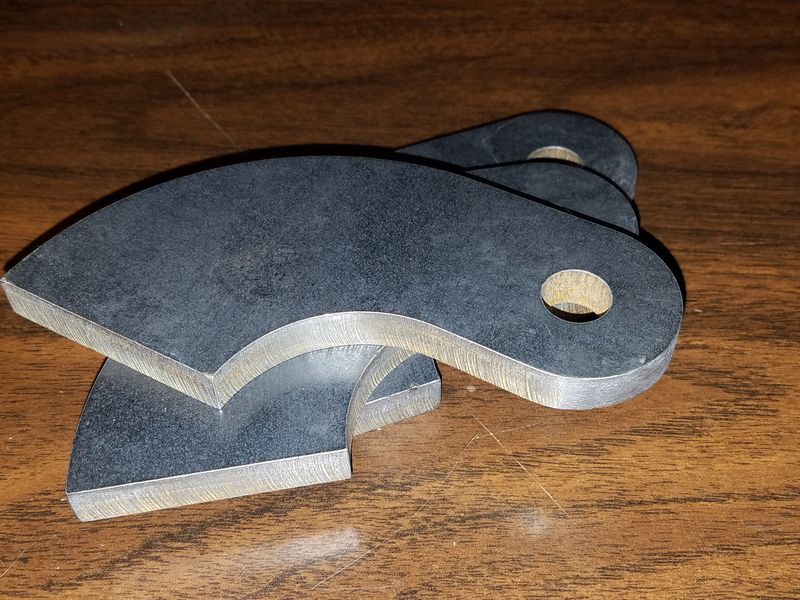
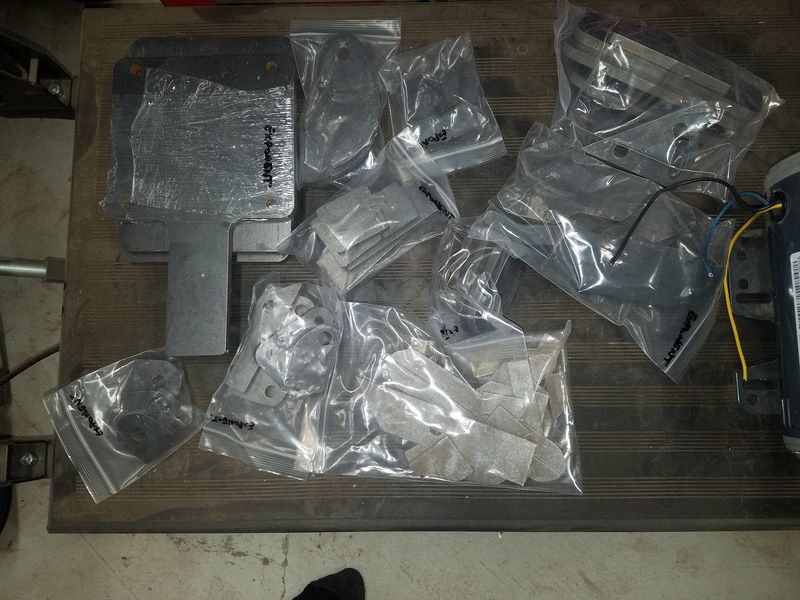
A sample of the cut parts and the parts all bagged as a kit. Doing 18 kits got the per kit price down to the low $300's
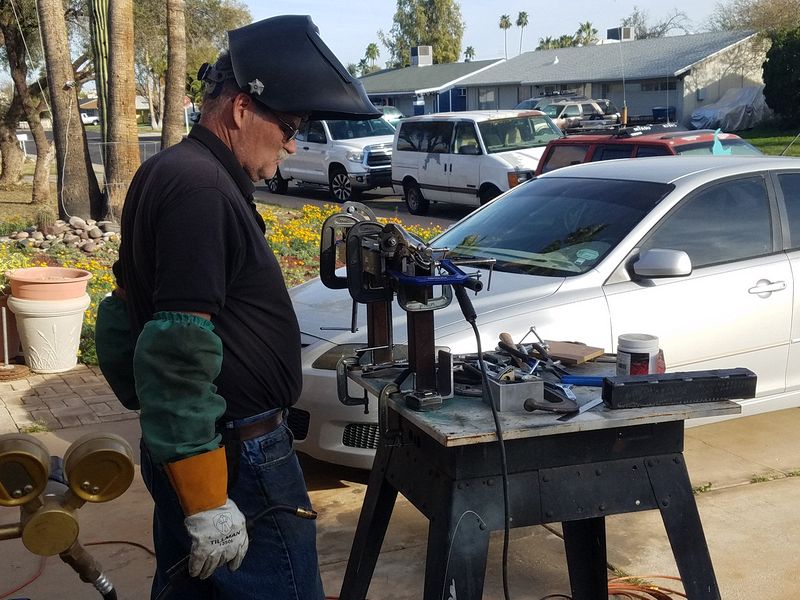
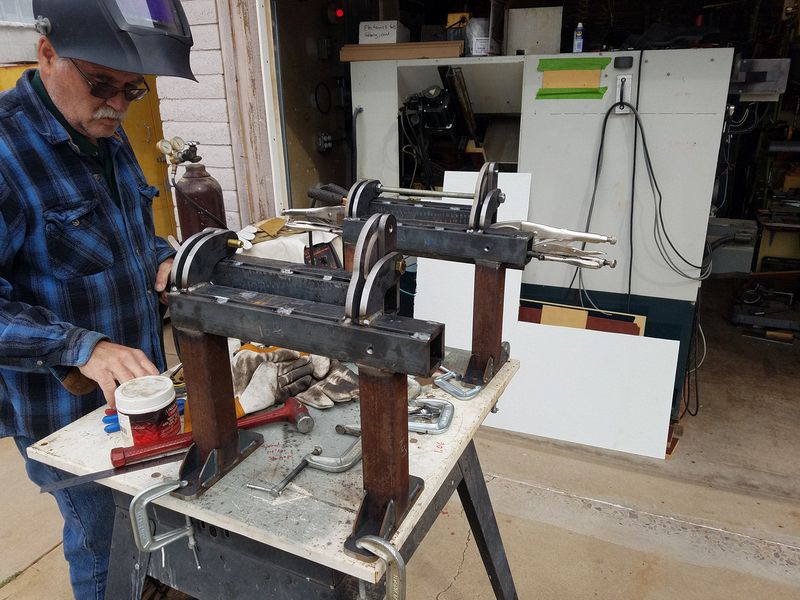
You can never be too good looking, too rich or have too many C clamps! We elected to build the grinders in parallel, saving multiple setups over time. After jigging and welding one, we immediately repeated the process. I was generally the rigger and Marty was Master Welder. The weather has cooperated and we have had a run of nice weather with light clouds and decent temperatures. There have been a couple of breezy periods that raised havoc with the welding.
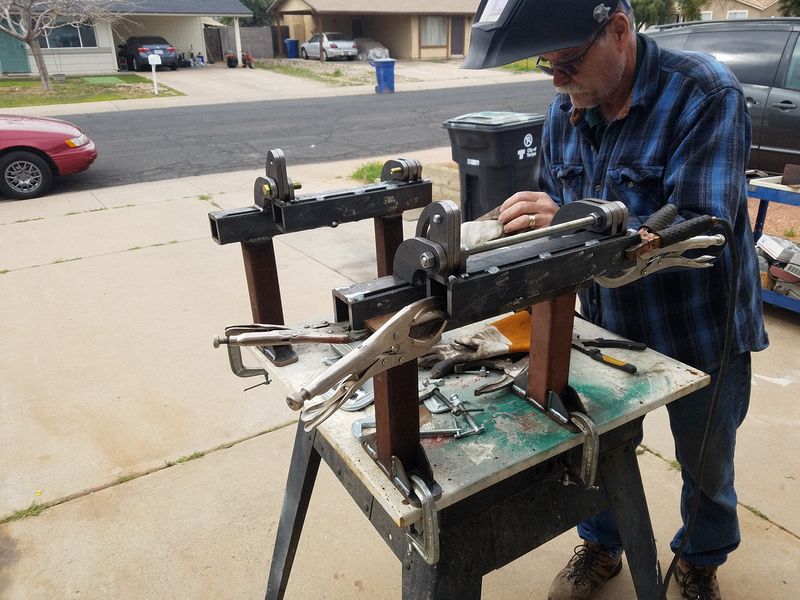
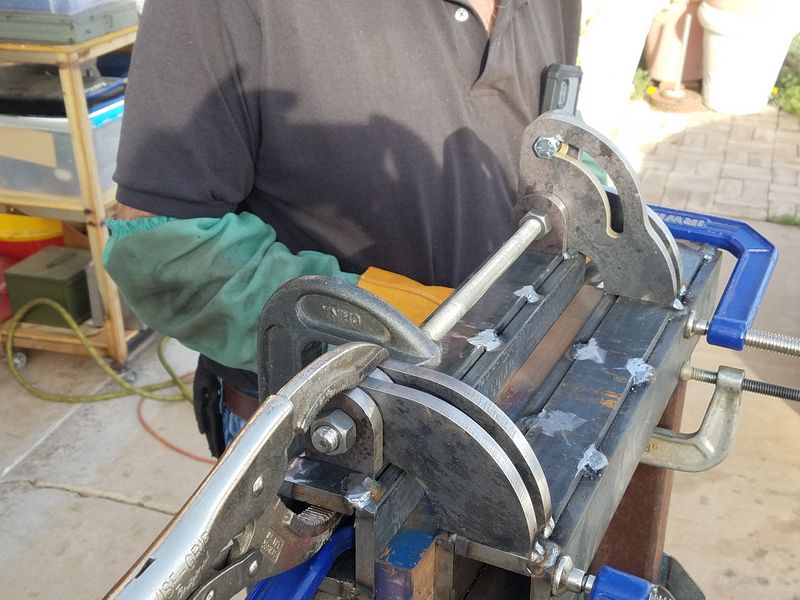
Jigging the pivot arms and the upper frame was a bit touchy, but we eventually settled on a method that made it easy to make slight adjustments prior to welding. The Vice Grip "Whale" pliers were immensely handy. I call them Whale pliers because they look like a Killer Whale in profile and if you turn them over the outline is a Sperm Whale.
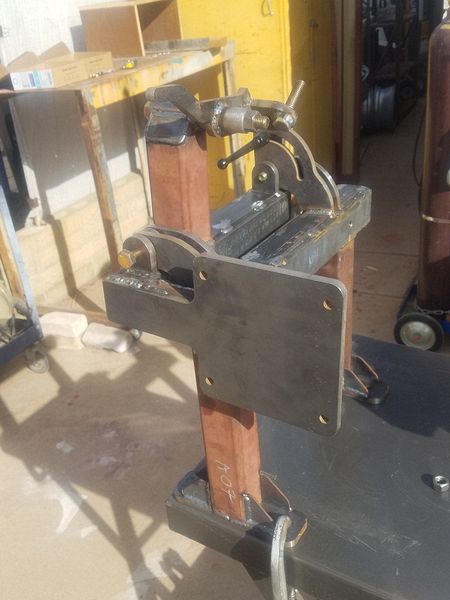
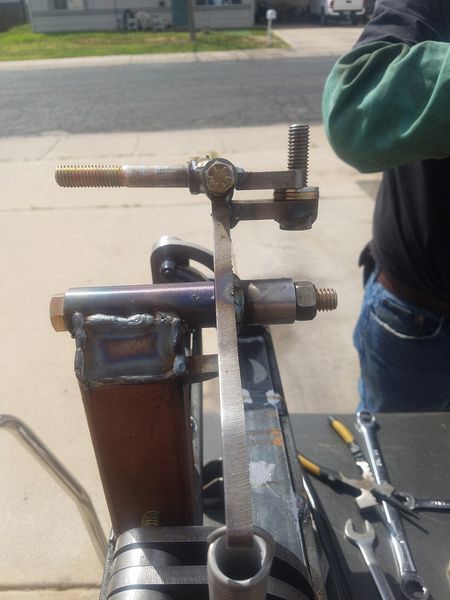
The next step was to add the motor mounting plate and the upright for the tensioner/tracking wheel assembly. We elected to have the spring fasten through a hole on the end of the tensioner arm instead of a welded bolt.
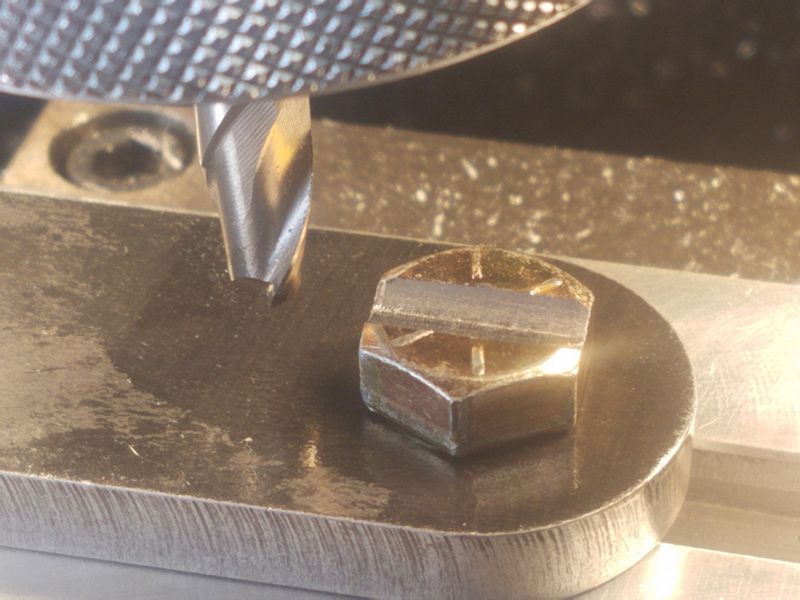
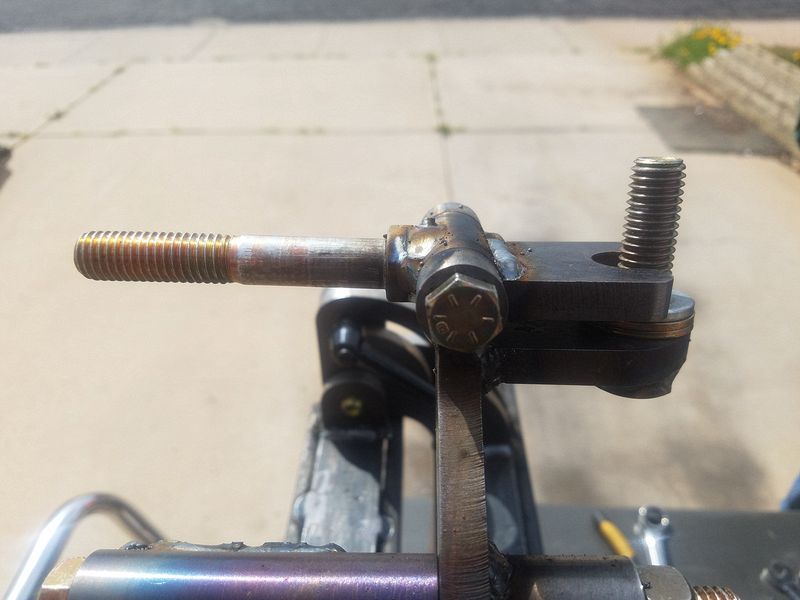
I used a ball end mill to machine a groove in the head of the bolt being used as the tracking wheel mounting to make welding it into place more accurate. Final shot of the tracking wheel mounting. The stack of washers were for alignment purposes of the tab and will be removed.
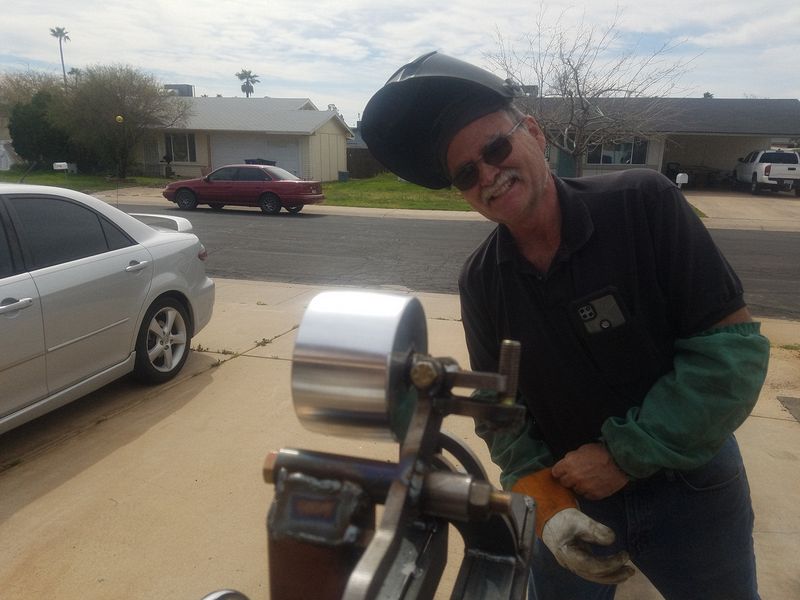
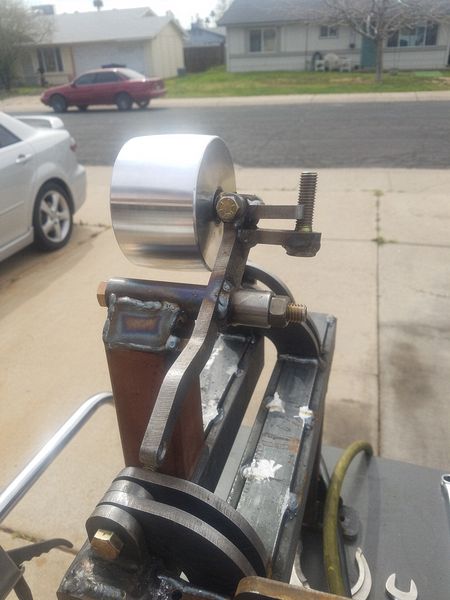
Marty inspects the finished Tracking/Tensioner. At this point the main frame is complete outside of grinding welds and little details. The next step is the Platen/Roller assembley
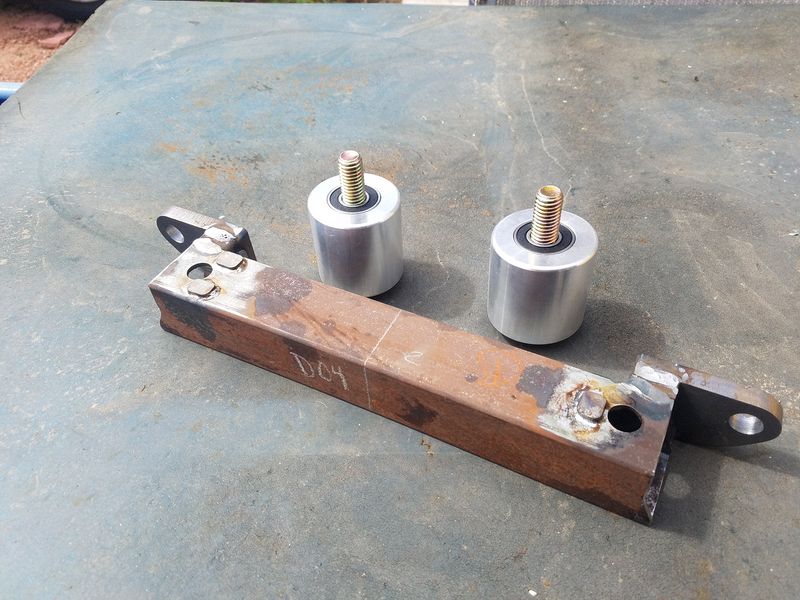
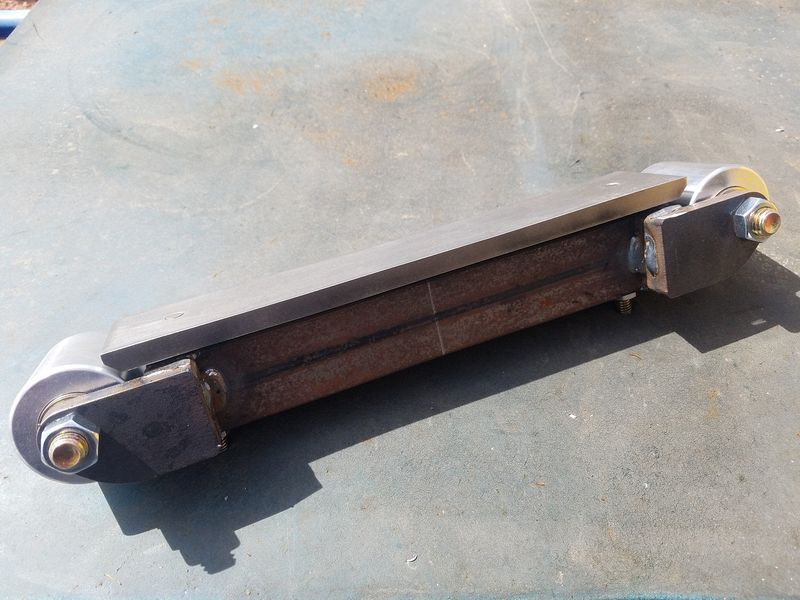
The platen frame is built from square tube and some 3/8" jet cut parts The three pads are actually for clearance from the welds. I elected to solder them into place as opposed to welding and grinding the subsequent welds.

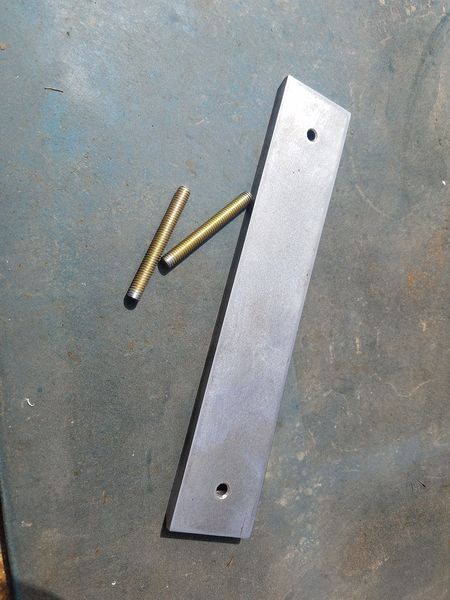
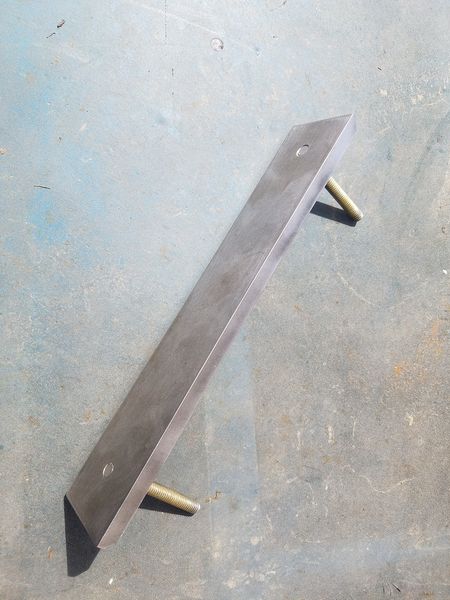
Soldered pads. There is not enough force on these
to require welding. The end of the platen was chamfered 45° with a beveled end mill. Holes were drilled and tapped
5/16-18 and grade 8 bolts were cut down to length. During final assembly
green Loctite will be used to secure these studs.
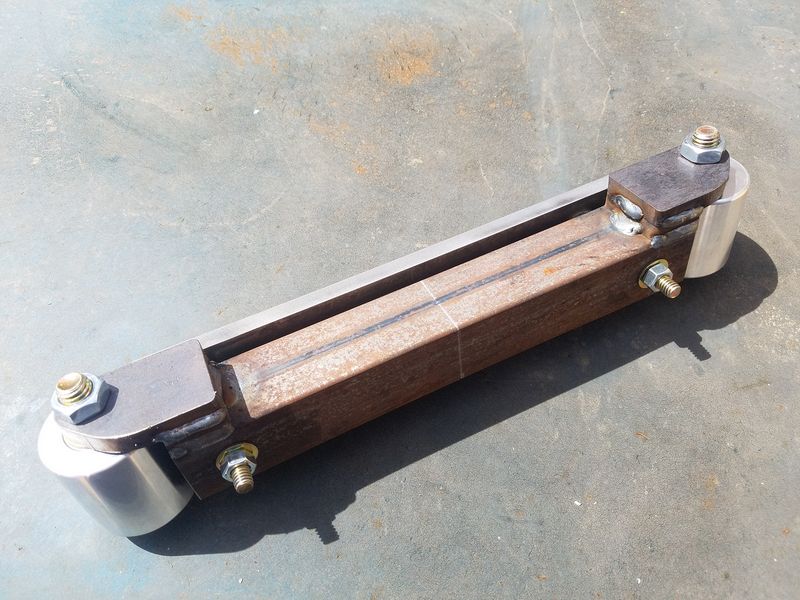
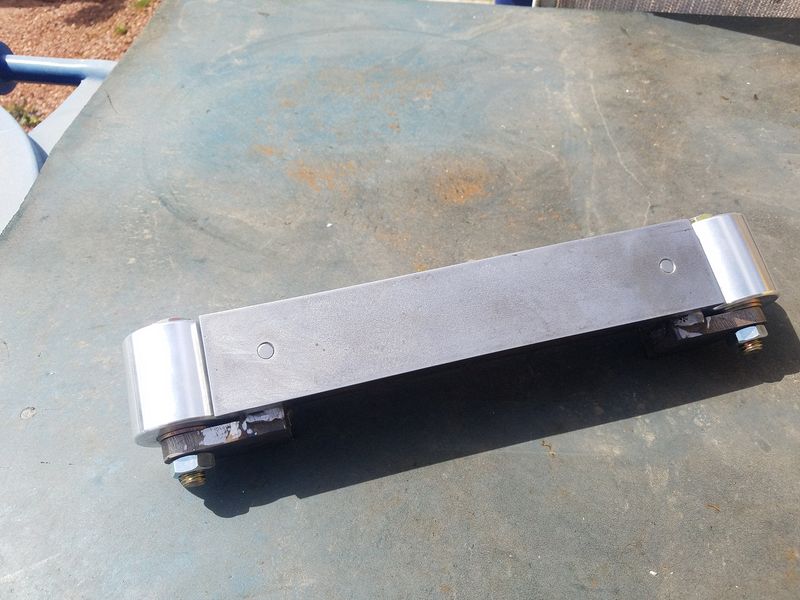
Platen frame assembled for a test fit. It is ready to be welded to the 1 1/2" solid bar and installed on the upper frame.