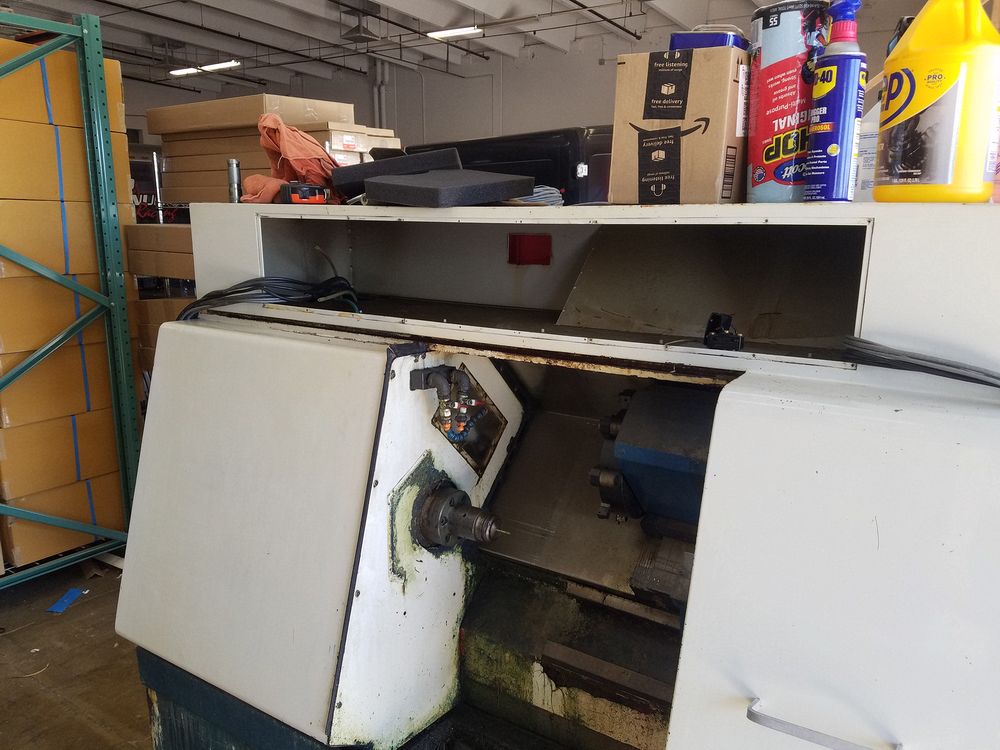
Equipment Bay
After removal of the front panels, display and interface board I have embarqed on installing the new controls. Until the Acorn6 arrives I am limited to infrastructure only.
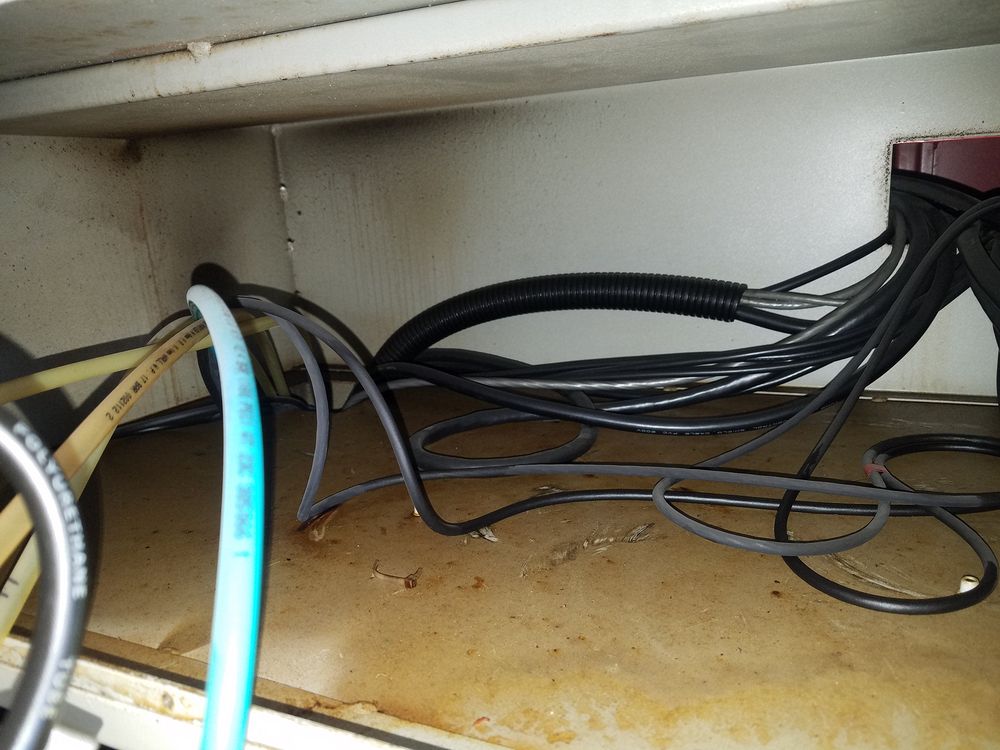
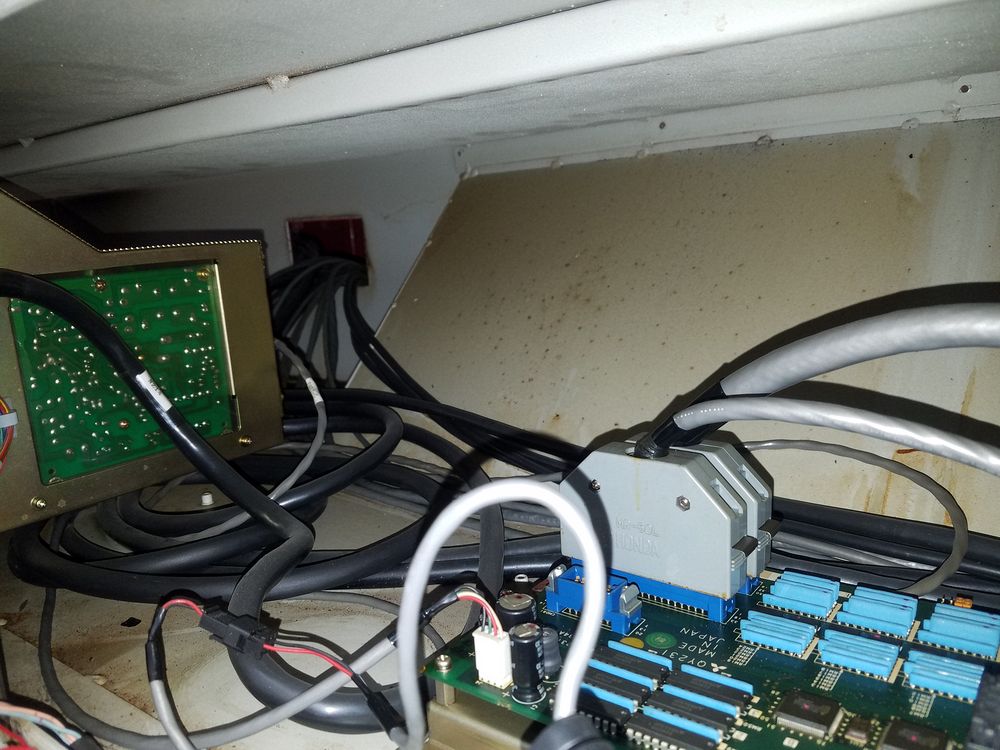
The first step was to remove the existing controls. This was fairly simple because the majority of the electronics are in the red cabinet hanging on the back of the machine. Up top were the Interface board for the switch and control panel and the Meldas display unit. About half an hour was required to tag and disconnect the cabling. The very left end of the bay was pretty much empty except for the white and blue nylon lines for the air controls. The controls will be relocated to the right side of the equipment bay.
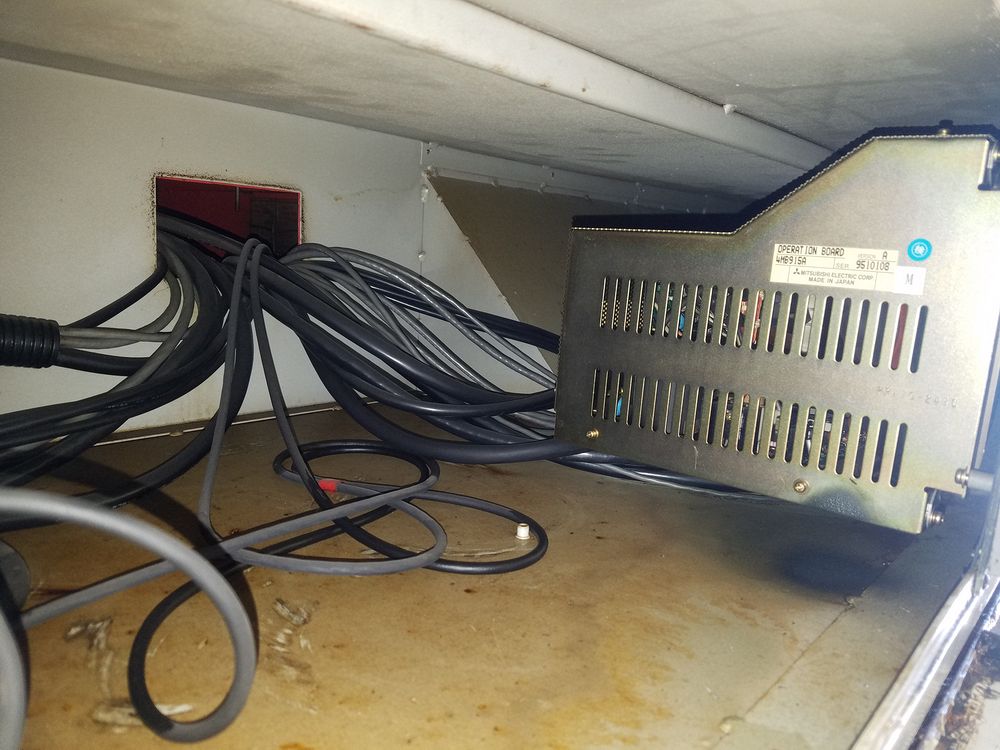
To the right of the display unit is the interface board for all the switches and controls on the right side front panel. Very few cables and connectors needed to be dealt with when removing the electronics. The right image above shows the bay after the electronics were removed. The air regulators and gauges were in a panel on the left side of the opening and they will be relocated to the right side. The only obstruction in the bay is the sloped cutout that is there to clear the X Axis drive.

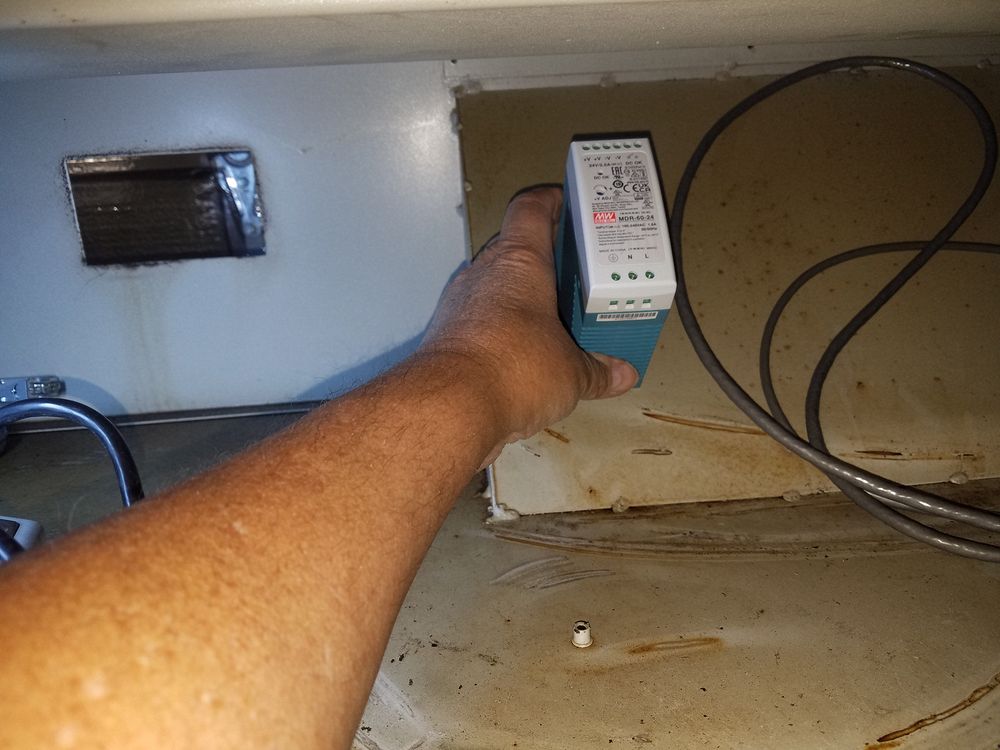
Here is a sketch of the layout inside the equipment bay. The more I looked at the "bump", the more I thought this would be an excellent location for the small power supplies and major fuses.
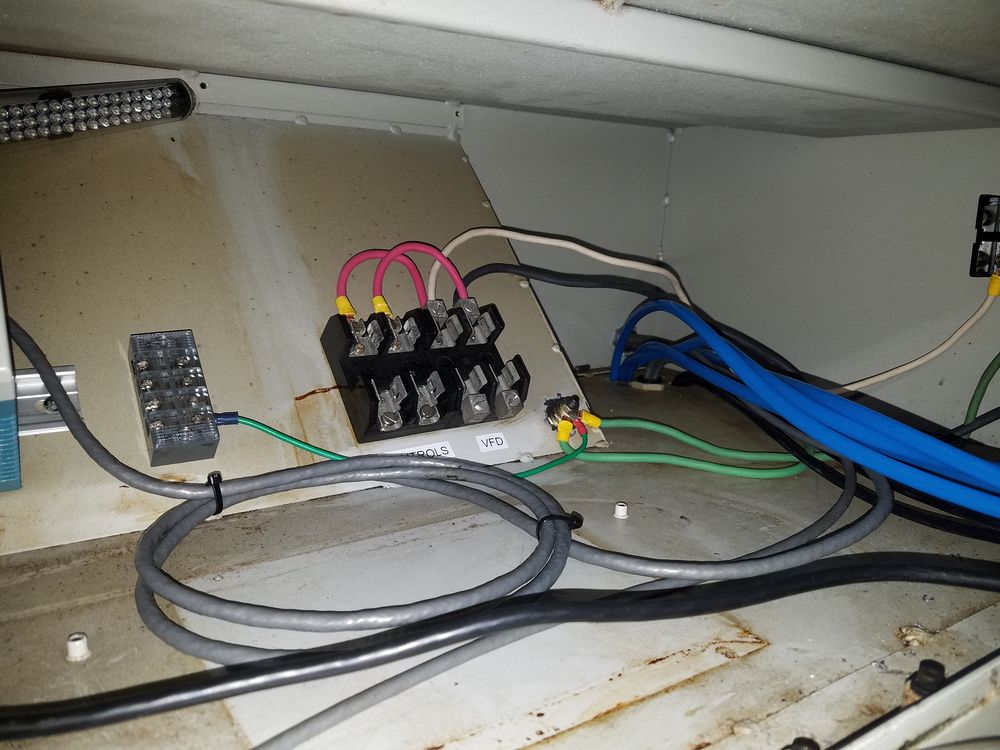
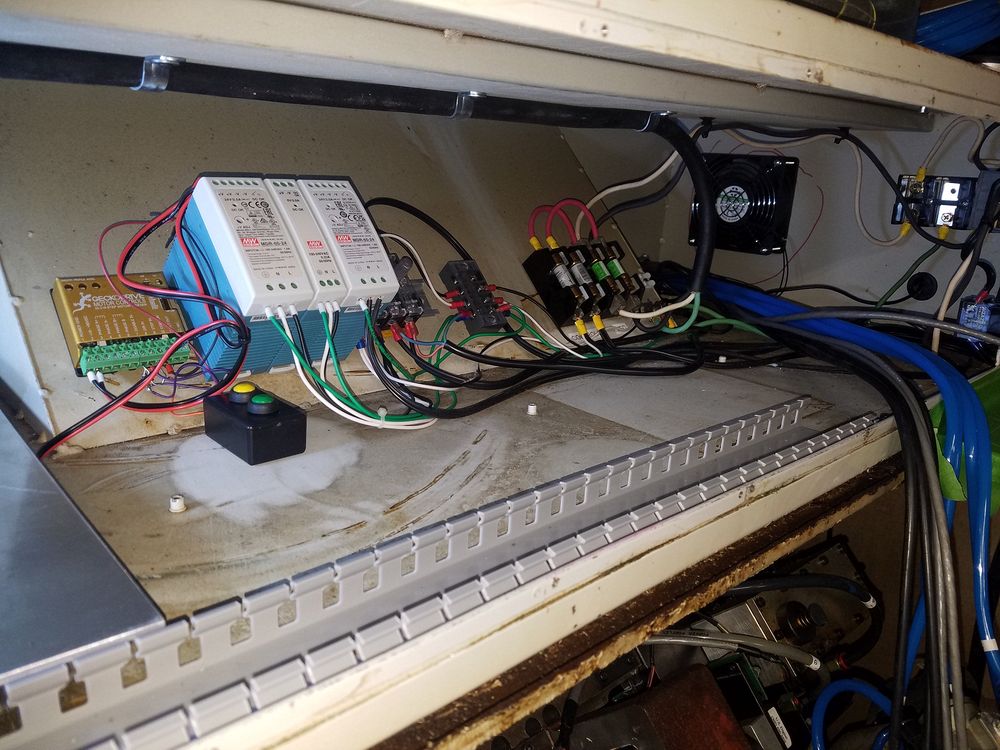
Fuse mounting shown here. The right side shows the power supplies mounted and partial wiring installed. The gold box to the left of the power supplies is the Gecko stepper drive for the turret, The small box with push buttons is a temporary control to run the turret stepper during testing. The main wiring duct has been installed in this view. The blue lines are for the air regulator/gauge assembly which was relocated to the right end of the opening.