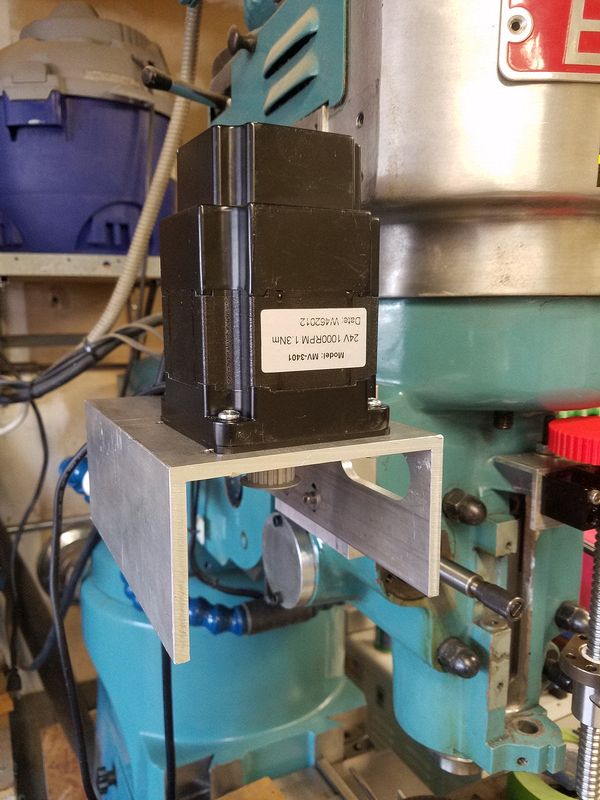
Upper Control Panel
The motor mounting serves as the location for the control panel. Non-computer controlled devices will have switches on this panel. In addition to those switches, the E Stop will be mounted here.

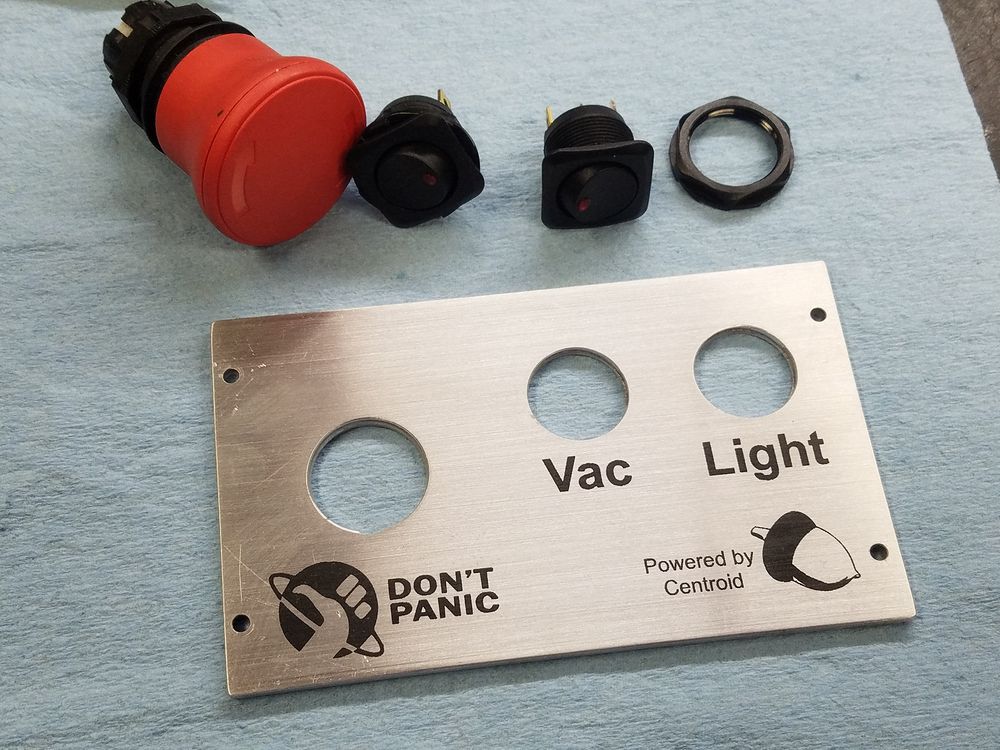
Control panel faceplate, test run for engraving using cardboard. The laser works very well for mocking up both the part and the graphics. Running the laser at 50mm/sec and 3% power (40W unit) will blacken the cardboard. 20mm/sec at 40% power will cut through all layers of the cardboard.
The aluminum was buffed using a green scotchbrite pad and then sprayed with Brilliance Marking Spray. When the spray is laser'd it melts and bonds to the metal. Just think of it as a laser printer with metal instead of paper. The un-laser'd spray rinses off with water. To remove the markings you have to scrub really hard with the scotchbrite! Image reduction makes the graphics look kind of poor on this page, but they are nice and sharp!
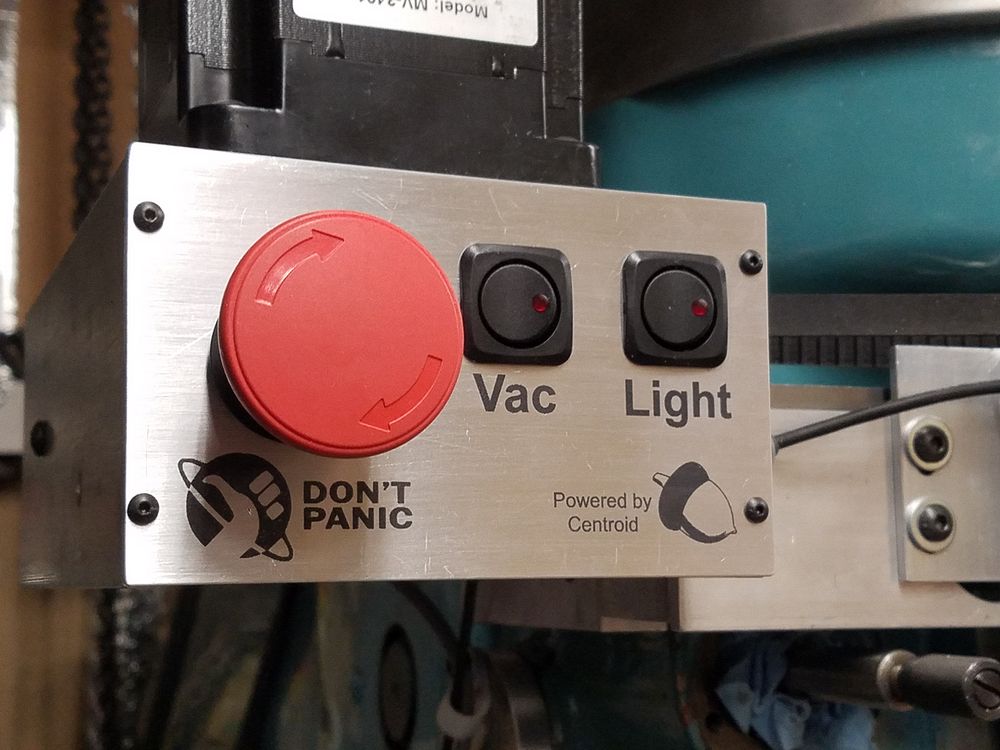
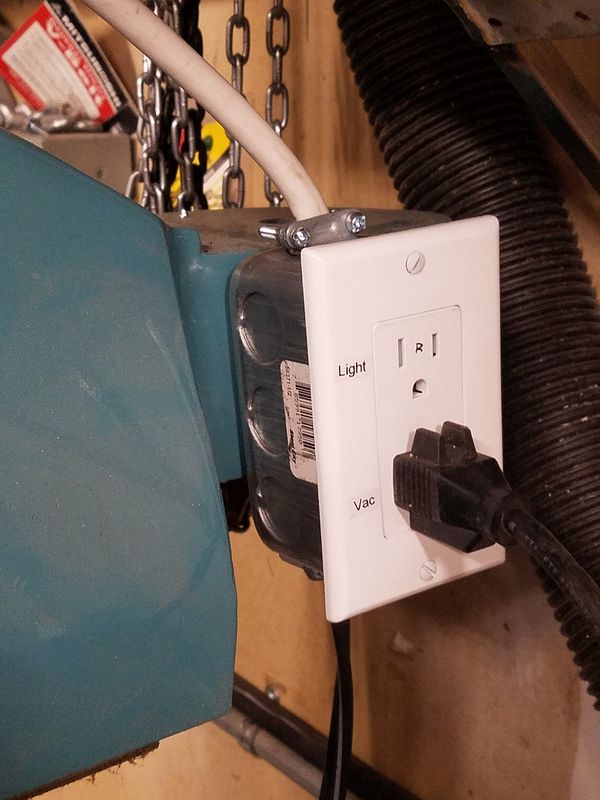
Installed panel with the switches in place. The outlet on the back of the ram is where the shop vac and any lighting will be plugged in. The shop vac is mounted on the wall above and behind the mill which can be seen in the first picture. At floor level is a swarf separator make out of a 5 gallon metal bucket.