Finishing and final assembly
10/7/2015
After an intense amount of work over the weekend the die filer is pretty much complete. I need to make the top seal plate and the "hat" that retains the files.
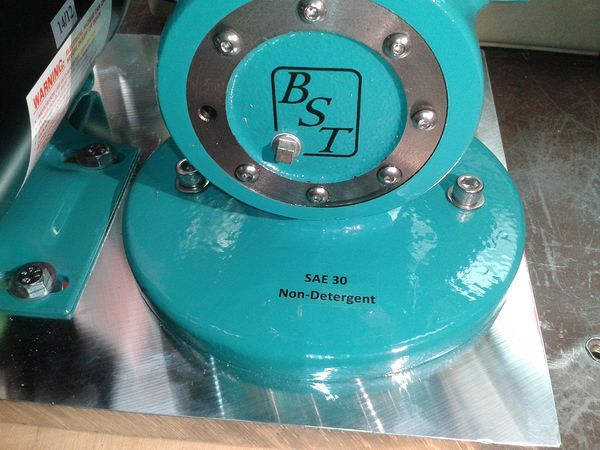
The machine was finished in Columbia Coatings Glossy Teal powder coat, which is my official "shop color".
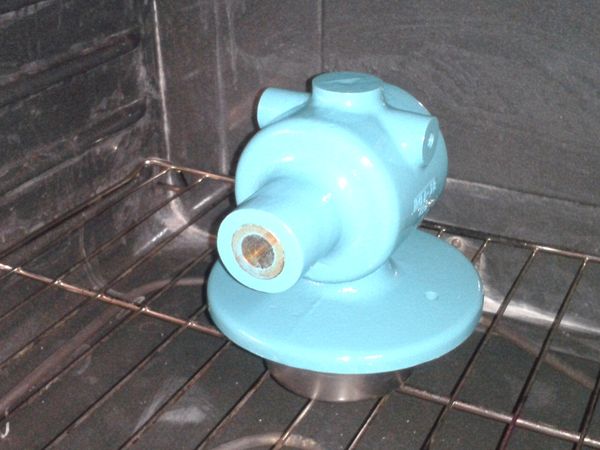
The main body has just be placed in the oven and has "cooked" long enough to just start to get a gloss after the fusing process has pretty much finished. This coating is baked at 390° for 20 minutes after the material has flowed out. I can's say enough about how well this powder works!

This picture doesn't really do justice, but the casting is so shiny! Took about an hour to cool enough to handle and it was still warm.

A standard chassis box was stripped and powder coated. I elected to use a two speed swamp cooler motor to provide some variability in the file speed. Decals were inkjet printed on clear decal paper from Decal Paper Online. A light coat of Krylon gloss clear lacquer seals the decals and from there it is just like decals that came with that Ed Roth model you built in Jr high.

The base is a piece of cast machined aluminum tool plate. I was at the metal store and it was a dime cheaper per pound than the regular plate. Something I didn't need to finish! I cut and formed a piece of CRS sheet to make a bracket for the switch box. Going this far I stripped the motor bracket and powder coated that as well. Back cover has not been finished, I still needed to add a fill plug.
I found a square headed 1/8" pipe plug that adds that "old machine" look. Decals were added where needed.

The pulleys are cast iron (what else?) and were stripped and powder coated to match. The larger pulley having spokes, added to the overall older machine look. I need to add some sort of brace to the switch box as it vibrates a little and actually makes more noise than the rest of the machine.